

Let’s know the ‘Best Stretches and Safety Tips to Do the Splits’ One of the most sought-after maneuvers when it comes to stunning moves that individuals aspire to learn is a full split.
It’s not unexpected considering how awesome it is to be able to slide into a complete split casually and how Instagram-worthy photographs of you in a full straddle are. Do you think gymnasts and ballerinas are the only ones who can perform this move?
Think again. Nearly everyone can eventually accomplish some kind of a split, according to trainers, with sufficient repetitions and the correct combination of flexibility exercises.

Depending on each individual’s prior movement history, level of fitness, and range of motion, the time required to attain a full split might range from a few months to a few years. Remember that as long as you’re moving in the correct way, you’re already improving before you become discouraged by the thought of such a lengthy procedure toward achieving your objective.
It’s not just about looking good or pushing yourself; getting the splits is entirely worth the effort you put into your stretching routine. Yes, mastering them will increase your self-confidence, but you’ll also get a ton of crucial health advantages:
- Performing splits improve the functionality of common movements like getting in and out of a car, squatting to pick something up off the ground, and mopping the floor. Splits also strengthen hip flexibility and joint mobility.
- Your lower body’s circulation and lymphatic flow is improved by stretching by lengthening and loosening your muscular tissue. You can move more freely and actually feel and be more in sync with your body as your flexibility increases.
- Your mind enters a state of relaxation while you stretch slowly and quietly, which helps you reduce tension and become more aware of your body’s physical feelings.
Best Stretches and Safety Tips to Do the Splits: Learn How to Do the Splits
Consistency is the key to getting your splits. Give your body two to three recovery days in between your first two stretching workouts every week. As you continue, you can change the frequency and difficulty of your flexibility exercises.
Pay attention to your diet because it surely affects your flexibility exercises. To maintain the health of your bones, connective tissues, and muscular tissues, choose wholesome, anti-inflammatory meals and drink enough water.
To maintain balanced flexibility, hold each stretch for 20–30 seconds and carry out each stretch on both sides.
Never skip an active warm-up to prepare your muscles and joints for safe stretching. To avoid injury, always stretch with proper mechanics.
You should work out your hip flexors, adductors, glutes, hamstrings, and groin muscles to get ready for the splits. You can perform the front split and side split, two of the most common split variations, by following the two stretch sequences we’ve put together here, each of which has nine moves.
Best Stretches and Safety Tips to Do the Splits: How to Do Front Splits
1. Pyramid Pose
Why: By lengthening the spine and stretching the hamstrings and hip muscles, this deep forward fold is beneficial.
How: Take a few steps forward with your right foot. Put your back foot in a heel-to-heel alignment. Fold forward and toward your right thigh by starting at your hips. Your forehead should now relax toward your shin.
2. Half Splits
Why? This forward bend acts as a hip opener, increasing the range of motion in your hips while stretching your lower back, hips, and legs.
Get down on all fours. Step your right foot forward between your hands, stretching your toes back toward you as you start to straighten it as much as you can comfortably do. Maintain a straight spine and stacked hips over your left knee. Start folding your right leg over as you exhale.
3. Runner’s Lunge
Why: The muscles in your glutes, hamstrings, quadriceps, ankles, and core are all stretched and strengthened by this type of lunge.
How: Start with your hands directly beneath your shoulders in a plank position. Step your right foot in between your hands, ensuring that your knee is directly over your ankle and that the angle between your shin and the ground is 90 degrees. Straighten your left leg, then begin to slowly lower your hips to the floor.
4. Low Lunge
Why: From your calves to your hamstrings to your spine, this pose gives your entire back of your body a good stretch.
How: Place your right heel on the floor and extend your right leg straight in front of you. Your left sole is facing the right thigh while your left leg is bowed at the knee. Sit up straight, and then start to lean forward and toward your front thigh.
5. Seated Hamstring Stretch with Forward Fold
Why: This pose gives the whole back of your body a good stretch, from your calves to your hamstrings to your spine.
How: Sit on the floor and straighten your right leg in front of your body with the heel on the floor. Your left leg is bent at the knee with your left sole facing the right thigh. Straighten the spine by sitting tall and begin to fold forward and toward your front thigh.
6. Supine Hamstring Stretch
Why: Your lower back, hamstrings, calves, and ankles are all worked during this stretch, and you use all of these muscles every day.
How: Place your legs straight on the ground while lying on your back. Lift your right leg, wrap a resistance band around your toe (or your hands if you’re already flexible enough), and begin to slowly pull your shin up toward your head. Maintain a straight and centered leg.
7. Low Lunge Quad Stretch
Why? This pose strengthens your knees while stretching your quadriceps, groins, hip flexors, and glutes.
How: Lunge forward while stepping with your left foot until your left thigh is parallel to the ground. Place your right knee on the ground, and with your right hand, take hold of your right foot. It should begin to gently nudge your back thigh.
8. Supported Splits
Why: This stretch serves as the last preparation position before the front split. For balance and stability in your moves, use a yoga block.
How: Straighten your right leg while bending your left knee as you sit up and move your weight back. To regulate the depth of your stretch, place a yoga block beneath your right leg (or place your hands on yoga blocks). Then, as you come into a split, begin to pull your left foot away from you.
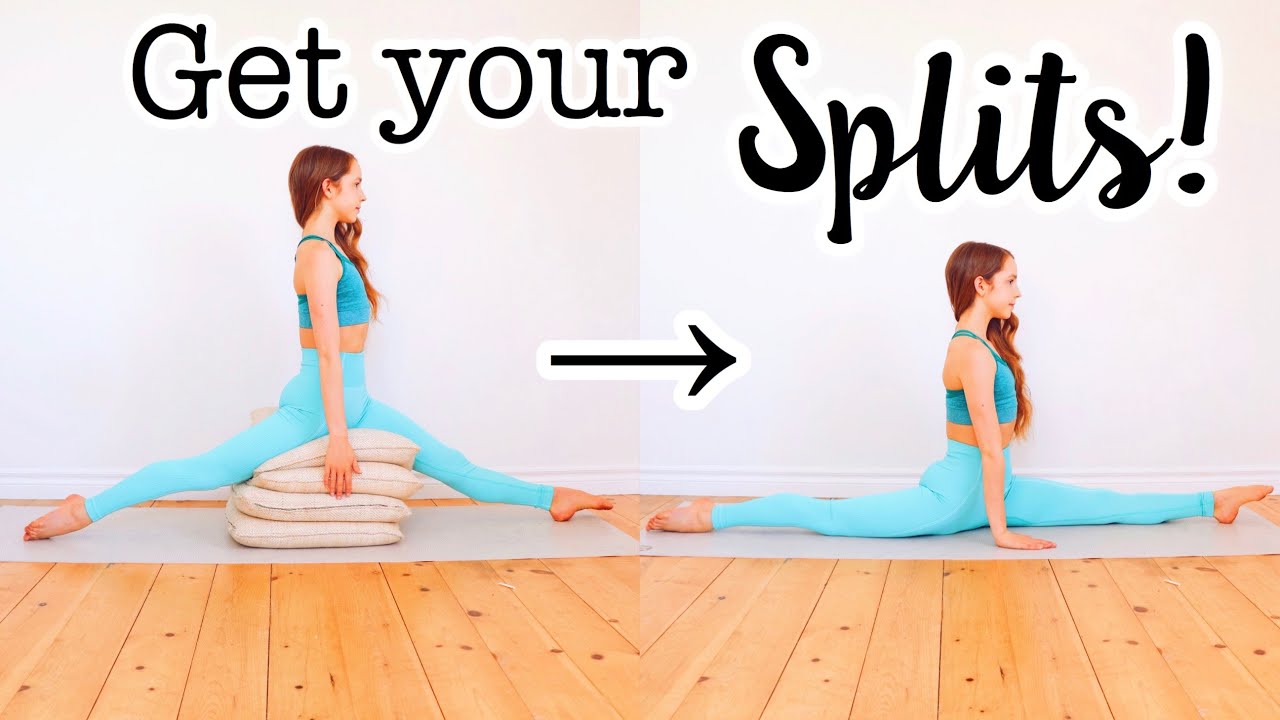
9. Front Split
It’s time to attempt to assume the front split position. Take note of how you are able to stretch deeper with each session.
How: Begin by lowering your left knee to the ground while keeping your left foot flat on the ground. Your hands should be placed on either side of your hips. Start by pointing your toes and gliding your right foot forward. Then, bring your left foot back while lowering your hips to the floor. Stop and hold this position once you feel a strong stretch in the hip flexors and hamstrings of your front leg.
Best Stretches and Safety Tips to Do the Splits: How to Do Side Splits
1. Deep Squat
Why: By stretching your gluteus maximus, quadriceps, calves, and hamstrings, this pose opens your hips.
How: Take a step with feet slightly wider than hips. Squat with your knees tracking in the same direction as your toes, and point your toes slightly outward. Put your hands together and rest your elbows on the backs of your knees. Start squeezing your elbows into the back of your thighs.
2. Pigeon Pose
Why: By stretching your hip flexors, groin muscles, and hip rotator muscles, this pose is quite effective (gluteus medius and minimus).
Get down on all fours. Bring your right knee to the level of your left wrist on the left side, turn it over, and place the backside up on the ground. Bring your left leg back slowly while straightening your knee and bringing your front thigh down to the floor. From the outside, bring your right buttock to the ground. Make sure your left thigh is directly behind your right heel.
3. Butterfly Pose
Why: This stretch expands the hip flexors, inner thighs, and back while encompassing the entire hip region.
How to do it: Sit down and bring your feet’s soles together. Put your elbows on the inside of your thighs while holding your feet with your hands. Starting with your elbows pressed up against your knees, steadily drop your torso forward while maintaining a long spine.
4. Side Lying Hip Opener
Why: By widening your hips and extending your range of motion, this stance.
How: Position your body in a straight line while you lay on your right side. Hold your hips in a stack. With your right hand, hold the heel of your left leg as you stoop. Reach as high as you can with your left leg, straightening it such that it touches your left ear.
5. Supine Hamstring & Hip Stretch
Why: This stretch improves the mobility and flexibility of your hip flexors while strengthening your hamstrings, calves, and ankles.
How: Place your legs straight on the ground while lying on your back. Grab your toes with your right hand while bending your right leg at the knee and maintaining it flat on the floor. Put your leg straight and extend it as far to the right as you can.
6. Supine Straddle
Why? This exercise will stretch your quads, hamstrings, and inner and outer thighs.
How: Lie on your back on the floor with your legs extended vertically on the wall and your butt pressed up against the wall. Legs should be spread as widely as is comfortable. To get into a deeper stretch, grab your inner thighs with your hands.
7. Frog
Why: Your hip flexors, inner thighs, and groin muscles are the focus of this stretch.
How: Lie on a tabletop position while on your hands and knees. Bring your feet in line with your knees while slowly opening your knees as wide as they will allow. The shins on either side of you ought to be parallel. Step forward onto your forearms while keeping your feet flexible.
8. Straddle with Reach
Why? This exercise will stretch your quads, hamstrings, inner and outer thighs, and hip flexors.
How: Take a seat and spread your feet as widely as you can. In order to get your stomach flat on the ground, start by sitting tall, drawing your belly in, and lowering yourself as far as you can.
9. Side Split
Finally, make an effort to assume the side split position. Your objective is to successfully stretch your legs so that they are at a 180-degree angle with one another.
How: Maintain a tall posture and check that neither your hips nor pelvis are rotating. Start extending your legs in opposing directions, trying to connect your ankles with your knees and your knees with your hips to make a straight line. Try to keep your torso as long as you can. For support, place your hands on the ground shoulder-width apart.
Best Stretches and Safety Tips to Do the Splits
Remember that mastering the splits is a marathon, not a sprint when setting your goals. Be aware of your limitations, take your time, and avoid exerting too much pressure. Security first! Your progress will be slowed down by pulled, strained, and other injuries, and you may not even be able to perform your splits at all.